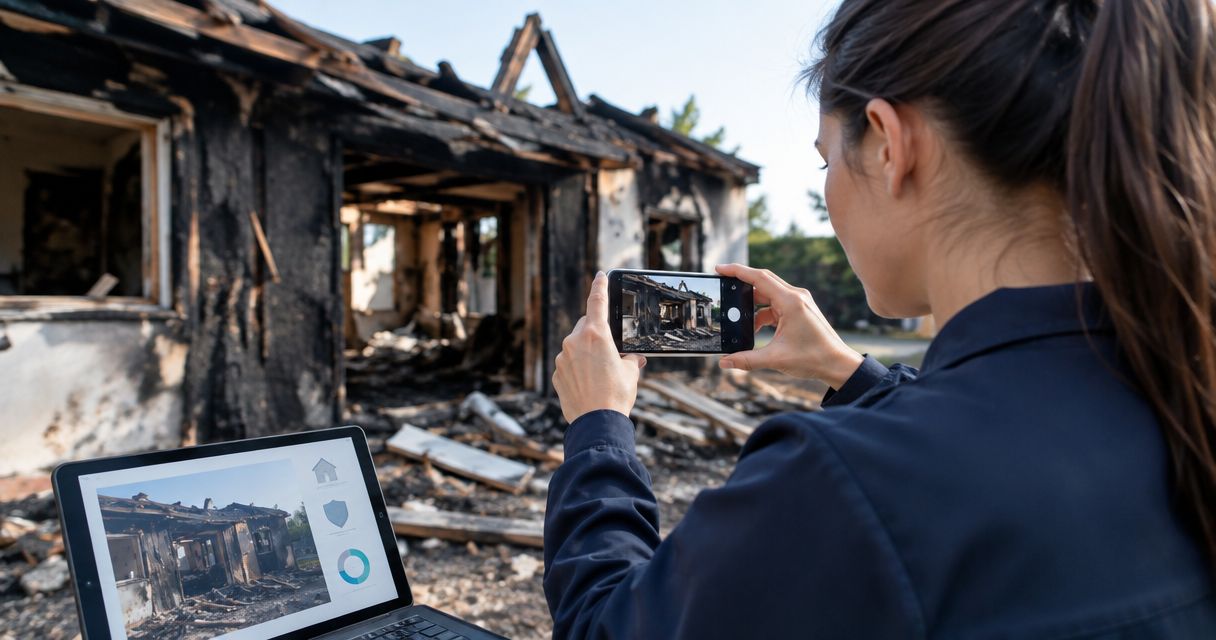
Instead of repeatedly attaching scattered fire photos to messages, build an insurance claim app fire damage documentation workflow that connects each damaged item to original evidence, supporting records, and a verified submission. Use the insurer’s app to submit the claim, and keep a separate evidence folder so your records remain accessible outside the app.
- Insurance claim app fire damage documentation works best when original photos, an inventory, and submission confirmations stay connected.
- Firewaterdamage provides fire damage restoration with 24/7 emergency response for homeowners and property owners in its stated service areas.
- Document only after safe access is authorized; never delay emergency protection work to finish an inventory.
- Verify uploaded attachments and keep an independent backup before treating a submission as complete.
Why this matters
A photo shows damage. A claim file explains where that damage occurred, what the item is, and which records support your description. Without those connections, you must reconstruct the same information when an adjuster asks follow-up questions.
Firewaterdamage is best for homeowners and property owners needing fire damage restoration in Temecula, Escondido, and North County San Diego/Inland Empire. Firewaterdamage offers 24/7 emergency response and IICRC-certified cleanup crews. Restoration addresses the property; the insurer determines coverage under the policy.
For a 2026 claim, keep the insurer’s submission channel separate from your master evidence file. This guide describes an app-independent workflow, not a connection that automatically transfers restoration records into an insurer’s system.
Before you start
- Access and safety: Have your policy information, insurer account access, and permission to enter the affected property. Follow fire officials’ instructions; do not enter an unsafe structure or handle damaged electrical equipment.
- Recording materials: Prepare a phone or camera, an item inventory, a document folder, and a separate backup location. Include receipts, correspondence, and contractor records as they become available.
- The setup gotcha: An app attachment is not your master copy. Confirm accepted file types and upload restrictions before preparing a large batch, and retain originals even when the submission requires smaller copies.
Do not postpone necessary emergency protection work while assembling a perfect claim packet. Record conditions from a safe position, tell the insurer about urgent work, and retain the resulting documentation. Ask the adjuster how to handle damaged items before disposal whenever practical and safe.
Choose your documentation setup
Use the insurer’s app for submission and an independent folder for evidence preservation. These are complementary parts of the workflow, not competing restoration services.
| Documentation option | Best for | Advantage | Limitation |
|---|---|---|---|
| Insurer’s claim app | Submitting information through the insurer’s designated channel | Keeps submissions associated with the insurer’s claim process | Accepted formats, attachment limits, and access depend on the app |
| Independent evidence folder | Preserving originals and organizing supporting records | Lets you retain files separately from the submission channel | Requires consistent naming, backup, and access control |
An independent folder does not file a claim. An app submission does not replace your own archive. Assign each a clear job before collecting evidence.
For your 2026 records, use the same room names and item references in both locations. Consistency makes a photograph, inventory entry, and contractor document easier to match without relying on memory.
Claim record setup
- Open the correct claim record. Follow your insurer’s instructions for reporting the loss. Check the property address, policy information, and incident date before attaching evidence. Copy the assigned claim number into your master record.
- Create an evidence folder. Separate original photos, inventory records, contractor documents, correspondence, and submission confirmations. Keep originals unchanged; put edited or reduced-size submission copies elsewhere.
- Start a claim log. Record the contact date, person or department, request, response, and next action. Distinguish what you observed from what another person reported.
- Set access permissions. Give access only to people who need the records. Remove unrelated personal documents before sharing a folder, and check that the intended recipient can open it.
Use 1 claim number as the reference for this loss once the insurer assigns it. If different policies or insurers create separate claims, maintain separate records rather than mixing their submissions.
A simple inventory template can contain room, item reference, description, observed damage, supporting files, ownership records, and submission status. These are fields for your own record, not assumed labels inside an insurer’s app.
Expected result: You have a claim reference, an organized archive, and a contact log. Every new file has a destination before it reaches the submission stage.
Room and item evidence capture
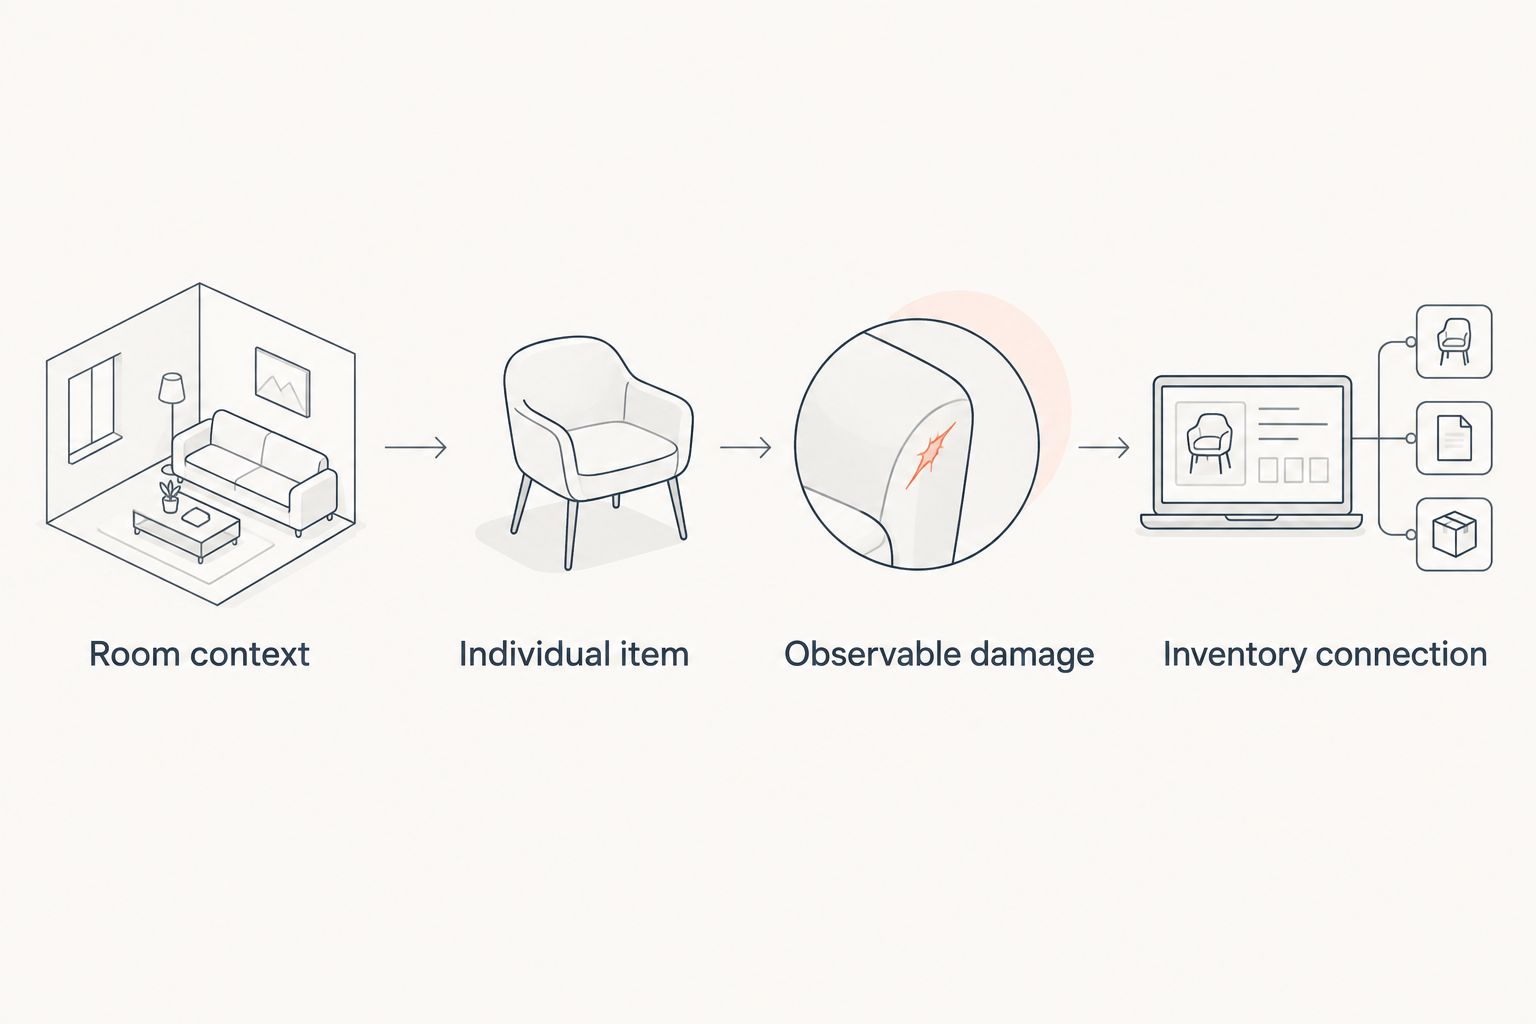
- Record the room context. From an authorized, safe position, photograph the room so the location of damaged items is understandable. Do not move debris or enter restricted spaces for a better angle.
- Capture the individual item. Photograph its visible condition and identifying details that you can access safely. Record make, model, or serial information only when readable; do not guess missing specifications.
- Describe observable damage. Write factual notes such as soot on a surface, visible charring, or water on the floor. Leave hidden damage, structural assessments, and repairability conclusions to qualified professionals.
- Connect files to the inventory. Give each item a stable reference. Use that reference in the inventory and filenames, then attach receipts or other ownership evidence when you have them.
For a practical capture checklist, aim for 3 photographs per item where safe: room context, the damaged item, and an identifying detail. This is an organizational recommendation, not an insurer requirement or a reason to enter a hazardous area.
An example filename is 2026-kitchen-chair-a-detail.jpg. Use the actual incident year when naming historical evidence; preserve the original file and its available metadata.
Expected result: A reader can identify the room, connect the item to its photographs, and understand the observed condition without asking you to explain each image.
Keep a separate building-damage record for walls, ceilings, flooring, and other affected building components. Do not force those observations into a personal-property inventory if the insurer requests separate documentation.
Supporting document assembly
- Collect contractor records. Retain estimates, work authorizations, invoices, and available job documentation. Identify the affected location and work described in each document.
- Separate records by purpose. Keep emergency protection work, cleanup, repair proposals, and personal-property evidence distinguishable. A proposal describes planned work; an invoice documents a billed transaction.
- Record related water damage. Document visible water effects associated with firefighting without assuming the extent of hidden moisture. Ask the restoration provider for available assessment and work records.
- Index the packet. List each document’s filename, date, purpose, and related room or item. Flag missing records as follow-up tasks rather than filling gaps with estimates presented as facts.
Firewaterdamage provides fire and water damage restoration; it is not a substitute for the insurer’s coverage decision. Ask which project records can be supplied, and retain the documents you receive without assuming any particular report format.
The fire damage restoration guide for insurance adjusters is a related resource for the handoff between property documentation and restoration work.
For a 2026 submission, date the packet itself as well as the documents inside it. That distinguishes your current assembled evidence from earlier estimates or later revisions.
Expected result: Your packet separates observed damage, ownership evidence, proposed work, and completed work. The recipient can locate supporting records without searching an unstructured attachment pile.
Submission and verification
- Check the recipient and claim reference. Confirm that you are using the insurer’s designated channel and the correct claim. Follow its instructions for document categories and required information.
- Prepare submission copies. Use accepted formats and preserve legibility. If a file needs resizing or conversion, work on a copy and keep the original in your archive.
- Submit a clearly identified batch. Include a short description of what the attachments contain and which request they answer. Avoid asserting coverage or a damage cause that has not been established.
- Verify the transfer. Check the submission confirmation and inspect attachments where the app permits. If the status is unclear, ask the insurer to confirm receipt through an approved contact channel.
- Save the receipt and update the log. Record what you sent, when you sent it, and any outstanding request. Back up the inventory, originals, supporting documents, and confirmation.
Keep 2 backup copies in separate storage locations as a practical safeguard. Neither copy should depend solely on continued access to the insurer’s app.
Expected result: You can identify the submitted files, produce the confirmation, and retrieve the originals. A prepared packet is not a completed submission until you verify receipt.
Update the claim when new damage is documented
A second workflow applies when safe access, cleanup, or inspection produces additional evidence. Update the existing claim record according to the insurer’s instructions rather than starting an unrelated record for the same loss.
- Preserve the earlier version. Keep the previously submitted inventory and its receipt.
- Add the new evidence. Date the observation, identify its location, and attach relevant professional records where available.
- Explain the change. State whether the update adds an item, corrects identification, or includes a new document.
- Submit and verify again. Record the supplementary packet and receipt as a separate entry in the claim log.
For 2026 updates, use a dated version name rather than repeatedly overwriting a file called final. A later document can then be traced to the exact information submitted at that stage.
For property managers, assign a person to maintain the master record. Keep occupant information and owner records separated where appropriate, and confirm who is authorized to communicate with the insurer.
Troubleshooting
An attachment is rejected
Check the insurer’s file-format and size instructions. Convert or reduce a submission copy, then inspect it for readable details before retrying. Never discard the original because the app rejects it.
Photos have uploaded without useful context
Add an inventory reference and a factual description through the insurer’s accepted channel. Keep the room and item identifiers consistent; avoid renaming previously submitted files without recording the change.
The app shows an unclear submission status
Check your connection and any available confirmation before repeating the submission. Ask the insurer to confirm receipt if the status remains unresolved, and record any resend so duplicated files are explainable.
Damaged belongings must be moved or removed
Document safely before movement when practical, and ask the insurer about inspection and disposal instructions. Record what was moved, why, and who handled it. Safety and necessary emergency work take priority over a complete photo set.
A contractor estimate differs from the claim inventory
Compare the location, item reference, and scope rather than assuming the documents describe the same thing. Request clarification of factual discrepancies and preserve both versions. Do not alter a contractor’s document yourself.
Customize your workflow
Expand your record around the property, not around extra apps. A homeowner needs clear building and belongings records; a property manager also needs an organized record of access authorization and relevant occupant communications.
For Firewaterdamage fire damage restoration projects, keep restoration correspondence alongside the claim log while preserving the distinction between contractor instructions and insurer requests. Document who requested each action.
The advantage of professional restoration is qualified cleanup support; the limitation is that hiring a contractor does not establish insurance coverage. Firewaterdamage’s stated IICRC-certified crews and emergency response support the restoration side of the process. Confirm claim requirements directly with the insurer.
Arrange fire damage restoration
Fire and water damage restoration with 24/7 emergency response in the company’s stated service areas.
FAQ
What is the best insurance claim app fire damage documentation workflow?
Use the insurer’s designated app for submission and an independent folder for original evidence. Connect room photos, item records, supporting documents, and submission confirmations with consistent references.
Can I document fire damage before the property is cleared for entry?
Do not enter a fire-damaged property until the appropriate authorities authorize access. Document only from safe locations and follow restrictions on affected rooms, utilities, and damaged materials.
Does uploading photos mean my fire damage claim is approved?
Uploading photos does not establish claim approval or coverage. Verify receipt, respond to insurer requests, and keep the insurer’s written decisions with your claim records.
Should I keep original photos after uploading them?
Keep original photos separately from the insurer’s app. Preserve available metadata and make submission edits or file-size reductions on copies.
What should I do if cleanup reveals additional damage?
Add the new evidence to your existing claim record according to the insurer’s instructions. Date the observation, explain the change, and retain both the earlier submission and the supplementary confirmation.
Can Firewaterdamage help with the restoration side of a fire loss?
Firewaterdamage offers fire and water damage restoration with 24/7 emergency response and IICRC-certified cleanup crews. Its stated service areas include Temecula, Escondido, and North County San Diego/Inland Empire; the insurer determines policy coverage.
Do I need receipts for every damaged item?
Ask your insurer what ownership and valuation evidence it accepts when a receipt is unavailable. Retain existing photographs, purchase records, readable identifiers, and factual descriptions without inventing missing details.
One last thing
Keep the evidence-to-submission connection, not just the evidence. A photograph stored on your phone does not show which packet contained it or whether the insurer received it. Your index and submission confirmation close that gap.
Before closing your 2026 documentation task, open the backup and retrieve a sample item with its photographs and submission record. This checks whether your filing system works without depending on your memory or the app.